Setting up Spot UV artwork for the first time can be daunting, even for seasoned professionals. And even when you have the process down, you change printer and they require a different set up! That’s why we’re sharing a demonstration to clear up any confusion and show you how easy it is to create stunning Spot UV business cards with Tradeprint.
These instructions are for Adobe InDesign. We have also created a video demonstration you can watch, or you can read our instructions to Set up Spot UV artwork in Illustrator.
1. First open a new document and set your page size. For a business card, enter 85mm x 55mm. Add 4 pages ensuring facing pages is not ticked.
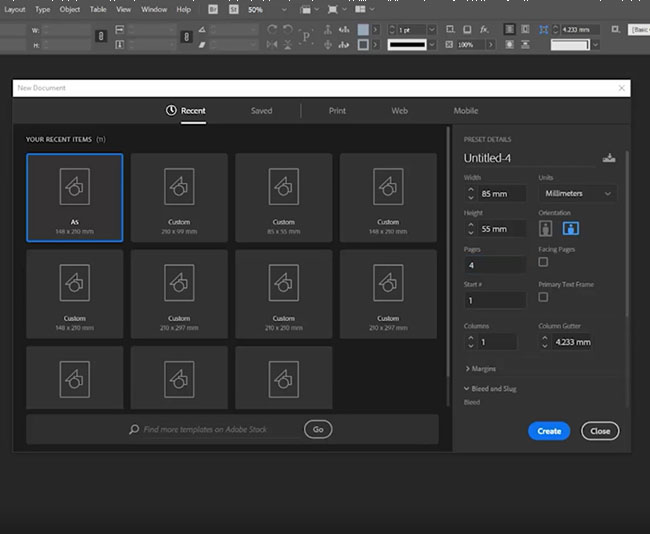
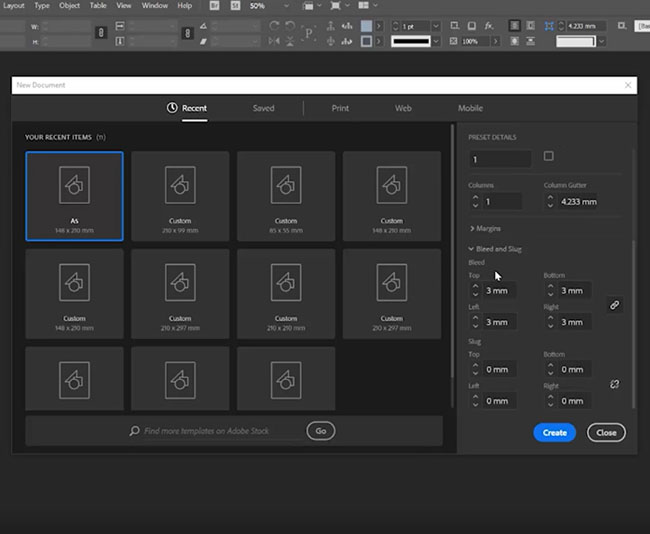
2. Add a 3mm bleed and click Create.
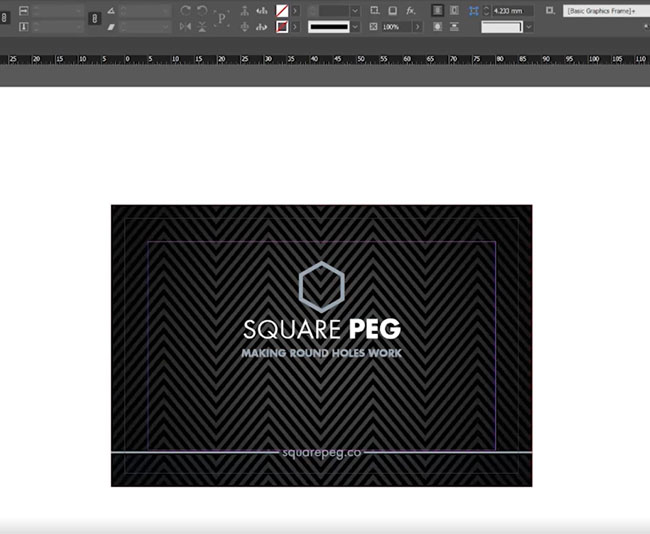
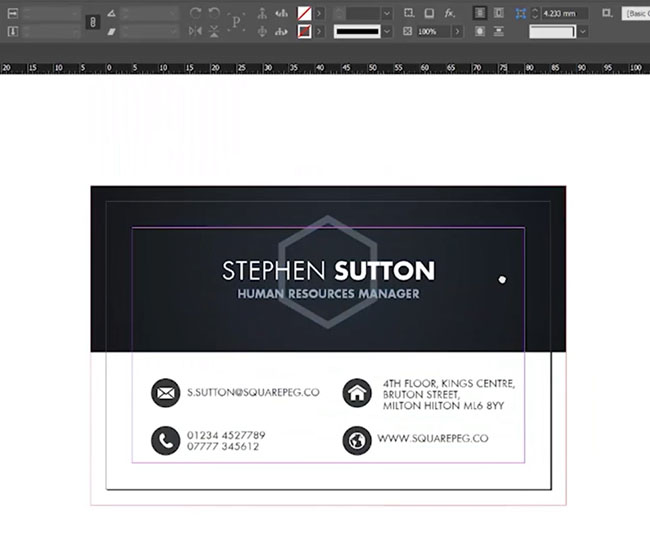
3. Now you’ll have four pages. The top two are for your design while the bottom two are for your spot UV layer. Place the front of your design on page 1.
4. Place the back of your design on page 2.
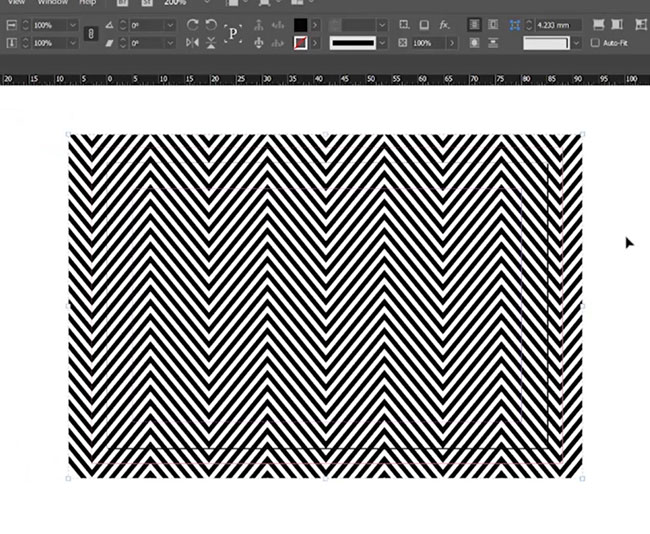
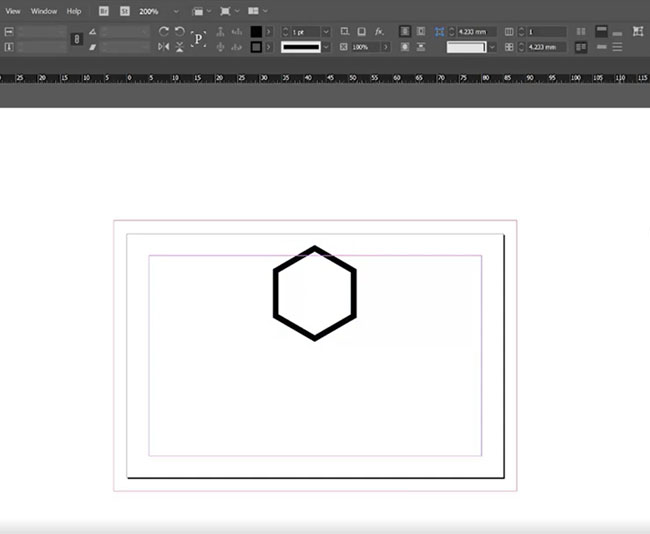
5. Create your Spot UV layer for the front of your business card on Page 3. To do this, copy and paste the part of the design you’d like to show in Spot UV onto the artboard and change the colour to black (100% K). Patterns work very well with Spot UV printing, but thin lines and small text don’t work too well. Also remove any text or shapes reversed out of a block so your design is completely black.
6. Repeat step 3 for the Spot UV layer for the back of your business card on Page 4.
NOTE: If you only require spot UV on one side of your design, still include all four pages but leave the page blank.
7. You now have four complete pages in the correct order for printing:
Page 1: Artwork front
Page 2: Artwork back
Page 3: Spot UV front
Page 4: Spot UV Back
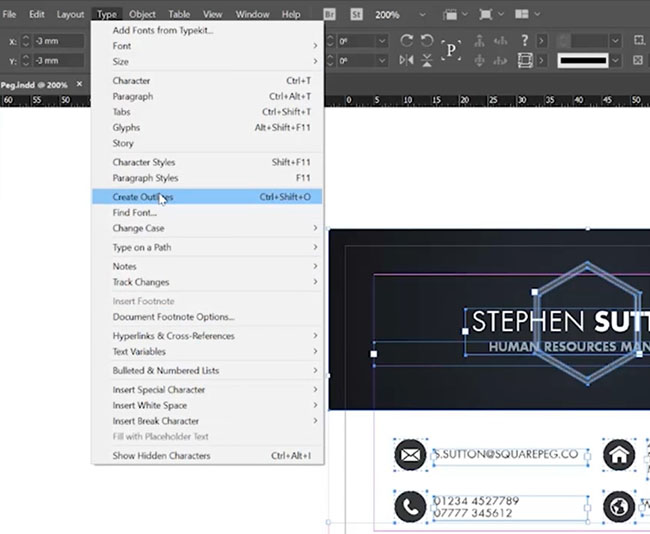
8. Outline the text to stop any font issues during the printing process and save the file.
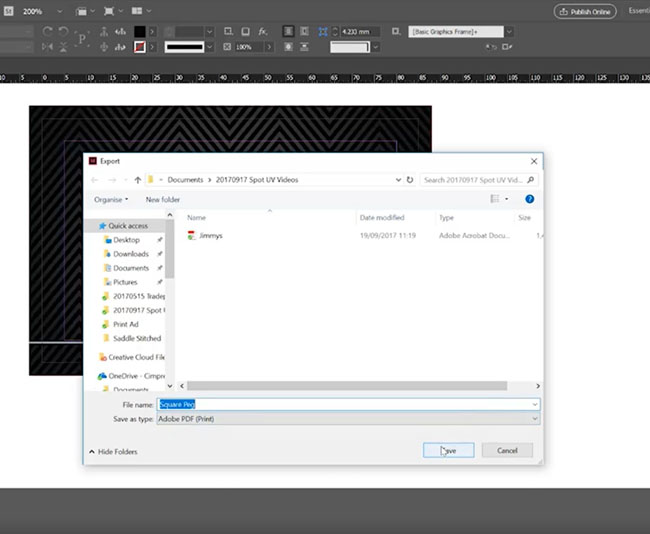
9. Now we’re ready to transform the artwork into a print-ready PDF file, so click export as PDF.
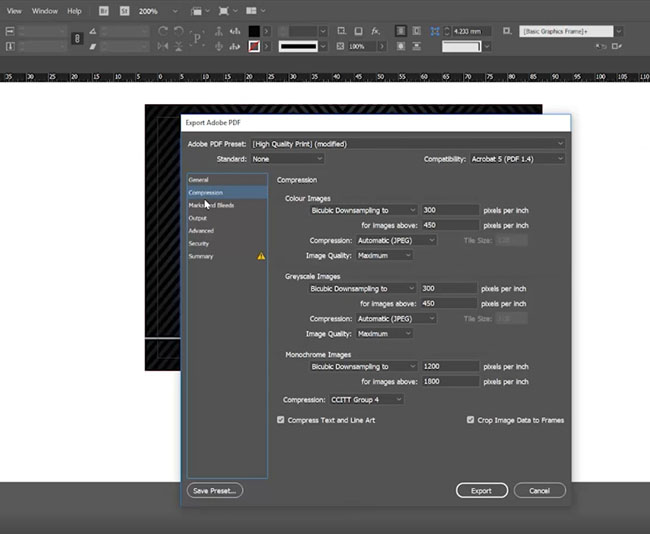
10. Choose High Quality Print and check the compression is on 300 so images will stay in their high resolution format.
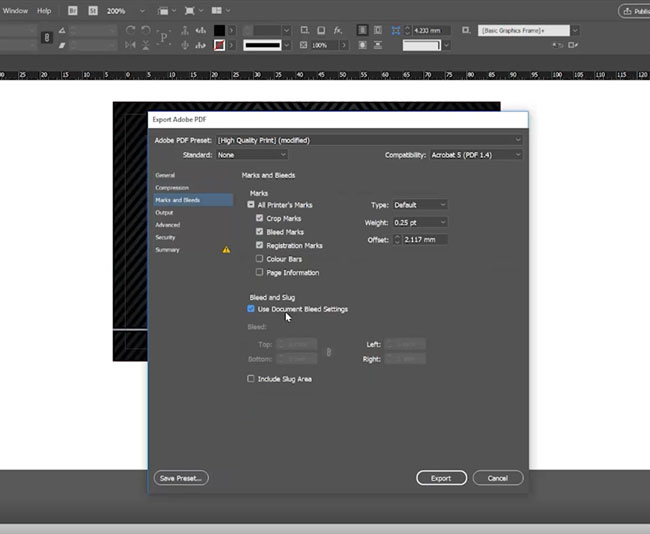
11. Add crop marks, add registration marks, add a 3mm bleed and click Export.
12. You should now have a four-page PDF, in the correct order and ready for printing.
Job done!
If you still have questions about setting up your Spot UV artwork, then get in touch! We’d be happy to help.
Or if you’re ready to buy, check out our range of business cards.
Business Cards
5 Comments on “How to set up a Spot UV Artwork File in InDesign”
Thanks for the tip but I think that’s a bit more long-winded than the way I do things.
If I’m creating a spot UV, I’ll give that a separate layer and spot colour (100M, as a spot) and name both the layer and the colour SPOT UV. When making my PDF, I uncheck the box ‘convert colours’. I also then set that object to Overprint. That way, when I open the PDF to preflight it, I can turn it off to check it’s correct and it won’t knock out of the background. In my opinion, if you put the Spot UV on a separate page, there’s a chance it could shift (if you nudge it with the cursor or something).
Hi John!
Thanks so much for getting in touch! The method you’ve outlined is absolutely perfect for submitting to our print partners, Exaprint. However for Tradeprint, we do require either a 2 page pdf for single-sided print, or 4 page pdf for double sided print.
Thanks again!
Lisa at Tradeprint.
Fantastic post.
Would love to see best practices for setting up other printing techniques. (Foiling, Debossing, Dye Cutting ect)
Or even how best to send a print spec.
Keep em coming.
Rob
Hi Rob!
Thanks so much for your feedback! We’ll definitely look into producing these!
Thanks again,
Lisa at Tradeprint
Thanks so much for posting this excellently worded process. I’m a new indesign user and this was so helpful!