How to set up your circle sticker design
Are you stuck on how to set up your sticker artwork for printing?
If so, we have some helpful tips and tricks to guide you through the process of designing your file correctly for print.
The first step is to choose the shape of the sticker you want to design. There are several common shapes for stickers, including squares, rectangles, and circles. However, if you require a unique shape, such as a love heart or a paw print, you may need to order a custom shape sticker or label. The type of sticker you order will depend on the shape you require, as some products come with set shapes, such as stickers on a sheet, while custom shapes can only be ordered on products like labels on a roll and die-cut stickers.
If you’re having trouble selecting the right sticker, we recommend taking a look at our sticker and labels use page, which can help guide you in the right direction.
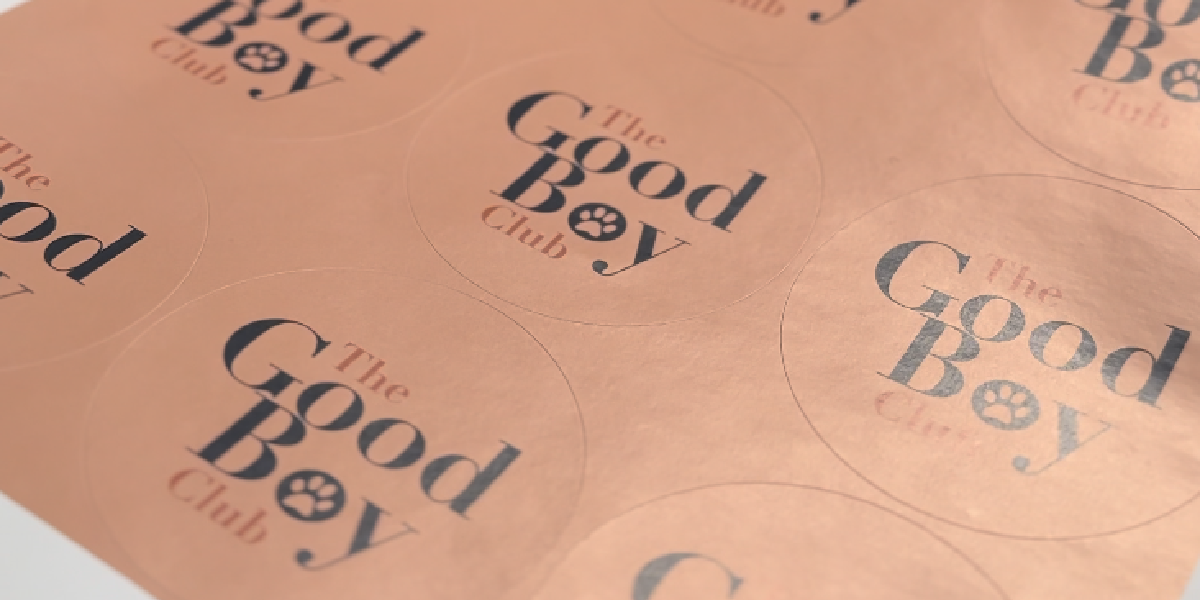
Once you have chosen the sticker you want, it’s time to start designing. For this example, we will use a circle sticker on a sheet. To ensure that your artwork meets our specifications, we recommend downloading our template from the product page.
When setting up your design file, make sure to create the canvas at the correct size with a 3mm bleed. In our example, we want to create a 64mm-by-64mm circle, so we will set up our canvas accordingly.
When working with a square canvas for a circle sticker, it is advisable to overlay a guide that shows the sticker’s boundaries. To achieve this, you can set a circle to 64mm x 64mm and lock it into its layer. We recommend including a safe zone guide within this layer as well, which will help you ensure that no essential text or graphics come too close to the cutting edge of the design. This approach will assist in ensuring that your final product is of high quality and accurately represents your intended design.

As you embark on the design process, we suggest that you begin by flood-filling the background of your artwork up to the edges of the canvas, which should also include the bleed area. Additionally, it is important to ensure that all graphics are centred within the page for optimal presentation.
Top Tip: we recommend allocating a 3mm safe zone around the perimeter of your artwork. However, to achieve a more premium look, we suggest adding a 5mm border which will prevent your critical graphics from being cropped.
 To minimise the risk of your sticker design looking uneven after printing, we recommend refraining from using line borders around the edge. This is because, during the printing process, there is typically a margin of error of around 2mm for movement. As a result, if your design shifts even slightly, the border may appear closer to one edge than the others, leading to an asymmetrical look. To avoid this issue, we advise against using borders whenever feasible.
Once you are happy with your design, you are ready to export your file.
Before you do that, make sure that you hide the guides that you created earlier, as you don’t want these to be shown on your final print.
When exporting your design, we recommend using a PDF format for printing. The profile that we suggest is PDF/X-1a:2001.

Once you are done, you can easily upload your artwork file with the confidence that it will print exactly as you intend it to.
Please see our other articles on custom cut to shape and white underpin.
